BizTalk – Expose Schema as WCF Service (Web Service)
Hello Info Technicians…
In this detail blog we will see how to expose schema as Web Service(SOAP) in BizTalk
Table of Contents
Project Details
For this, artifacts I’ve used,
- Source and Destination Schema
- Map
- Orchestration
Also you can check the entire solution in GitHub.
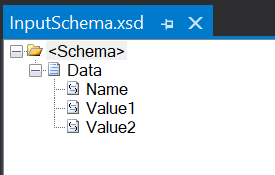
Source Schema:
Root node is Data and all 3 child nodes are string data type only.
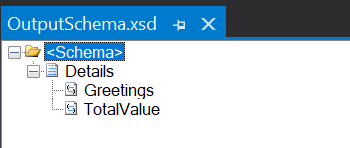
Destination Schema:
Root node is Details and 2 child nodes are string data type.
Map:
Name mapped with Greetings with string concatenation. “Hello “+Name
Value1 and Value2 will be added together and mapped to TotalValue. Value1+Value2

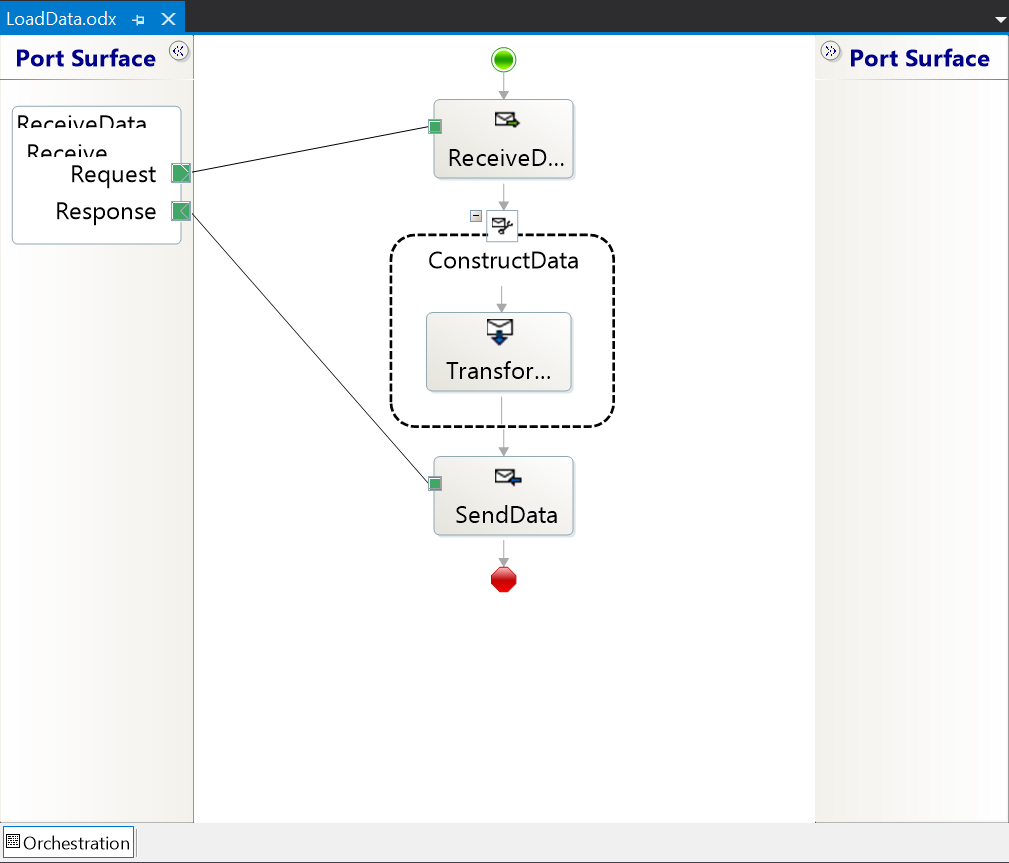
Orchestration:
Just a simple orchesration with Receive and Send.
- Received message is source schema (InputSchema.xsd)
- Construct the Send message with above map.
- Send message is destination schema (OutputSchema.xsd)
Now create the application in BizTalk Admin Console and deploy the above artifacts. In my case it is POC.ExposeSchemaAsWebService and all artifacts under single BizTalk project.
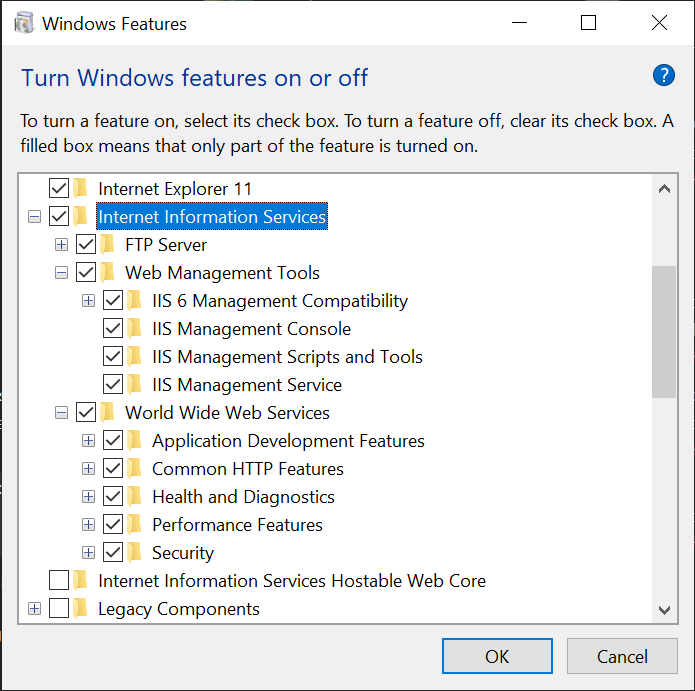
Enable IIS
First you need to enable IIS features in your windows. Just search for Turn Windows features on or off and open it.
Now enable the all features under IIS(Internet Information Service).
Expose as Web Service
Now we are going to expose this as Web Service – SOAP
Now search and open BizTalk WCF Service Publishing Wizard or you can find the same in Visual Studio under Tools tab.
Once opened click next.
Now choose the Service endpoint and change Adapter name to WCF-BasicHttp. Also check the Create BizTalk receive location… and choose your application which is deployed earlier. Then click next.

In this leave as it is and click next.

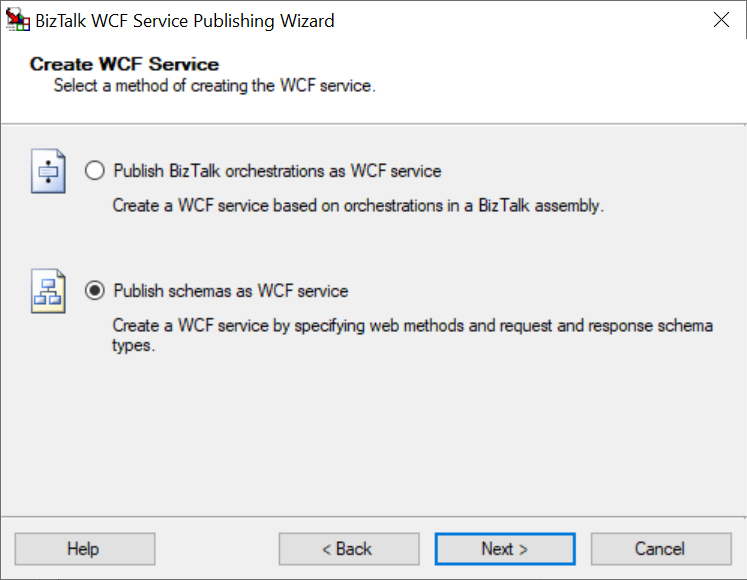
Now choose Publish schemas as WCF Service and click next.
In this page select the Request (source schema) and Response (destination schema) schema by right clicking. Schemas are nothing but previously we created in the BizTalk Project (in Visual Studio)


After selecting the Request and Response it will be look like this. Click next

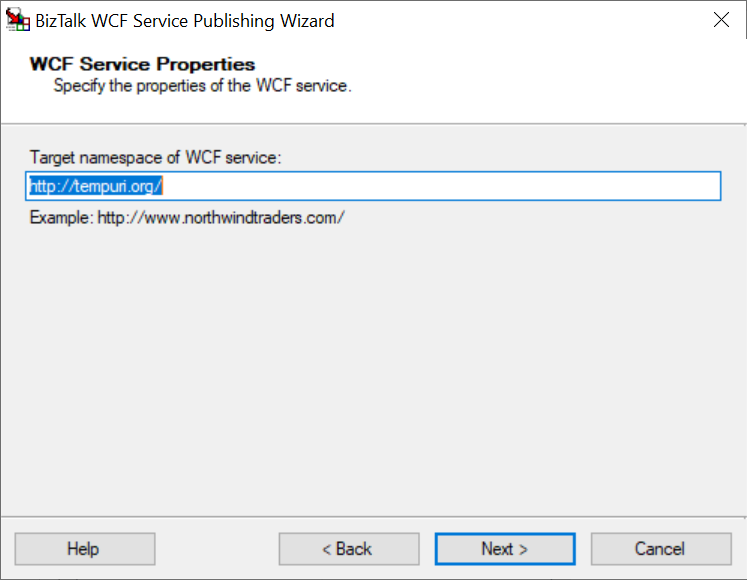
In this page leave as it is and click next
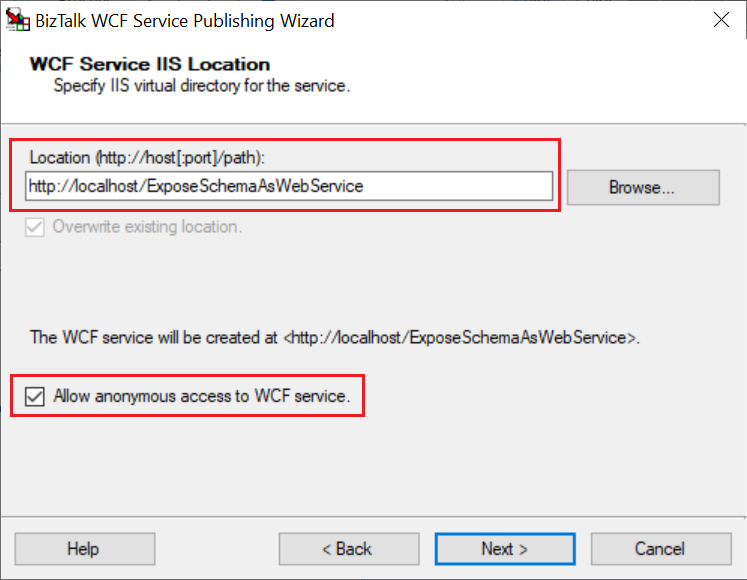
Now change the Location if you want and check the Allow anonymous access to WCF Service. I changed ExposeSchemaAsWebService for unique. Click Next
Finally it will be like this. Now hit Create

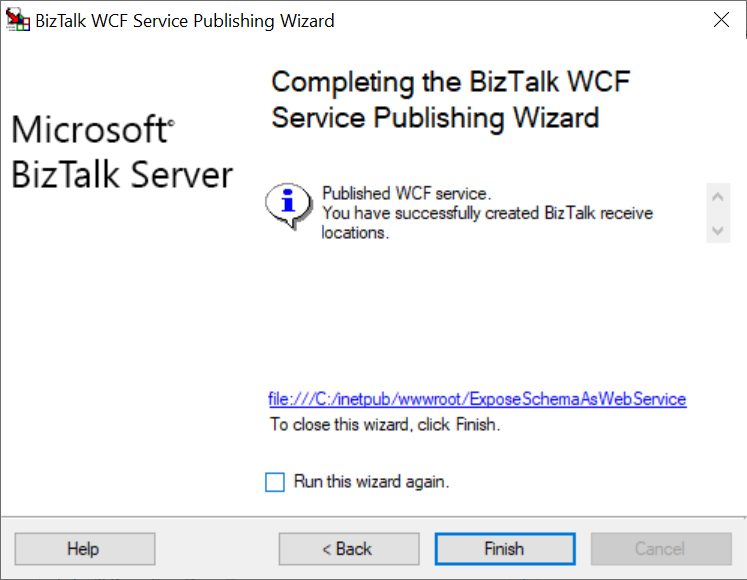
Once done you will get like this. Just click Finish.
Setup IIS
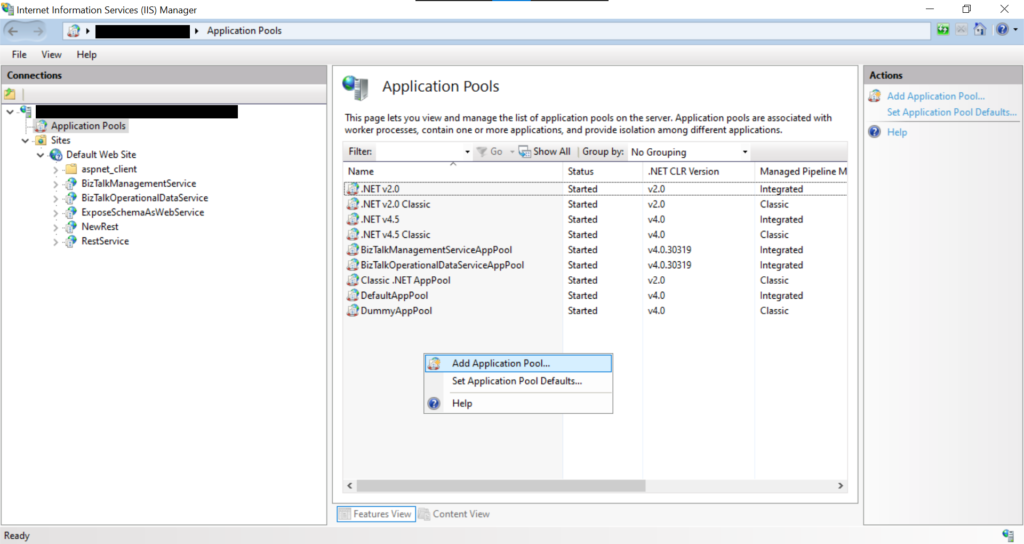
Search and open IIS. There you can see our site. In my case it is ExposeSchemaAsWebService

Go to Application Pools and create a new application pool to not distrub others. Right click the empty area and select Add Application Pool…
Give the name for Application Pool and select the Managed pipeline mode is Classic. Make sure to check the Start application pool immediately

Now right click the newly created application pool and select the Advanced settings…
Under Process Model you can see the identity and click the elipsis (…) (on right side). Choose the Custom account option and give the appropriate account details.
Please note that, use the credential which is used for Isolated Host Instance in your BizTalk Server.

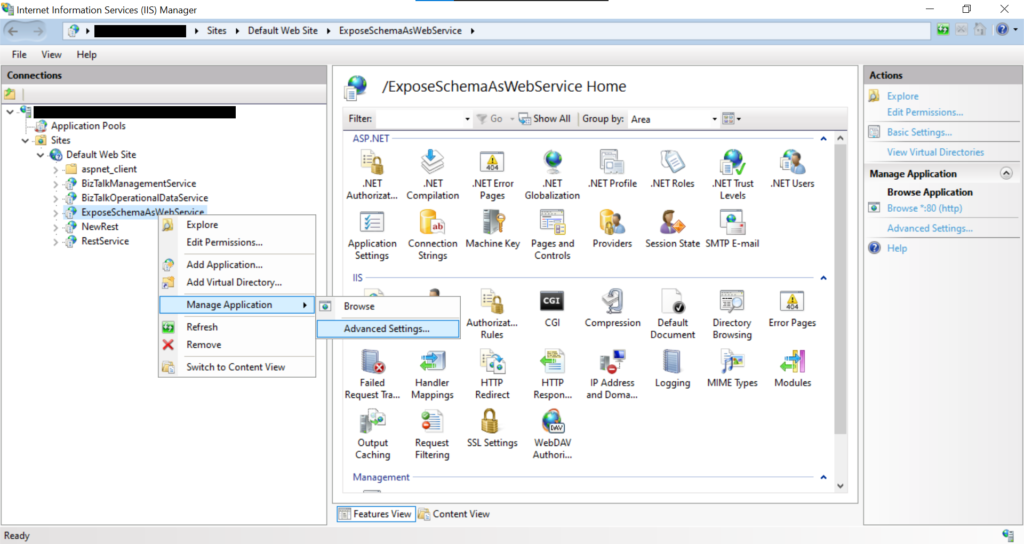
Now right click the Site and open the Manage Application > Advanced Settings.
Here change the Application Pool to new one which is created now(SchemaAsWebServiceAppPool) and give the Physical Path Credentials which is given in Application Pool
Please note that the credentials we are using here should be same as Isolated Host Instance Credentials.

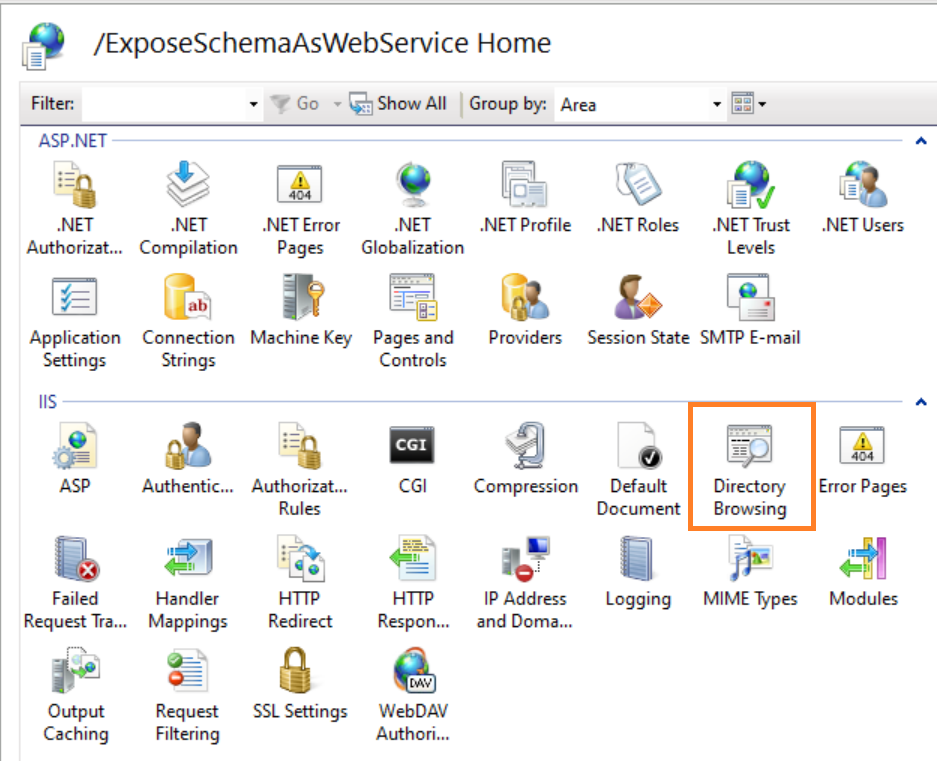
Now click the Site, select the Directory Browsing and Enable it

Now open web config file of the site. The path is “C:\inetpub\wwwroot\ExposeSchemaAsWebService\Web.config”
In ServiceBehaviorConfiguration behavior change these values to true and save it.

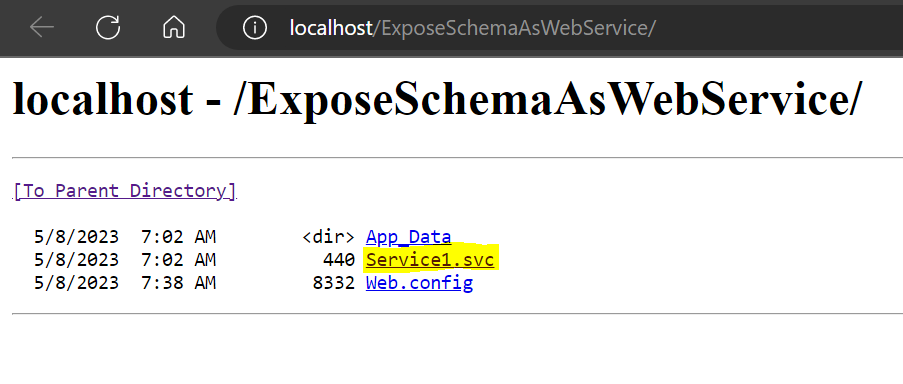
Now select the site and click Browse

Once opened you will see a site like this. In this select Service1.svc
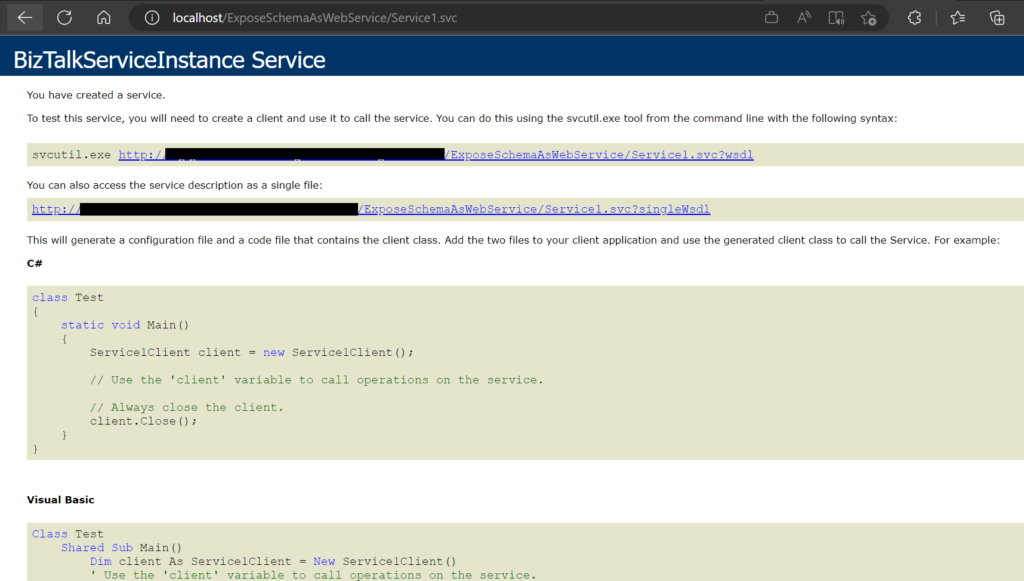
After opening the Service1.svc you will get this page.
Copy this URL. Ex: http://machine_or_localhost/ExposeSchemaAsWebService/Service1.svc?singleWsdl
Time for Test
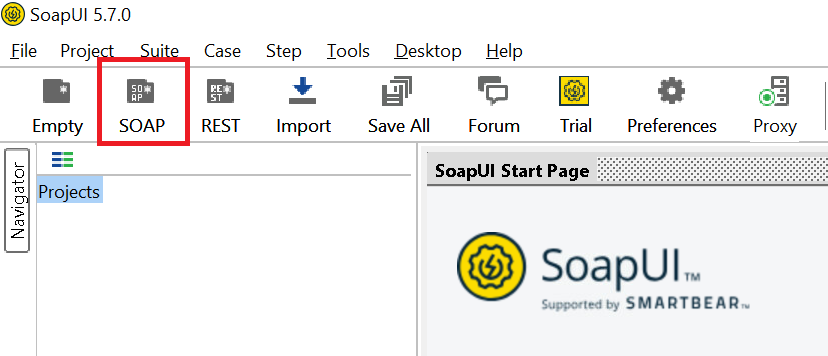
Open the Soap UI and select SOAP project
Pase the copied URL in Intial WSDL and click OK.

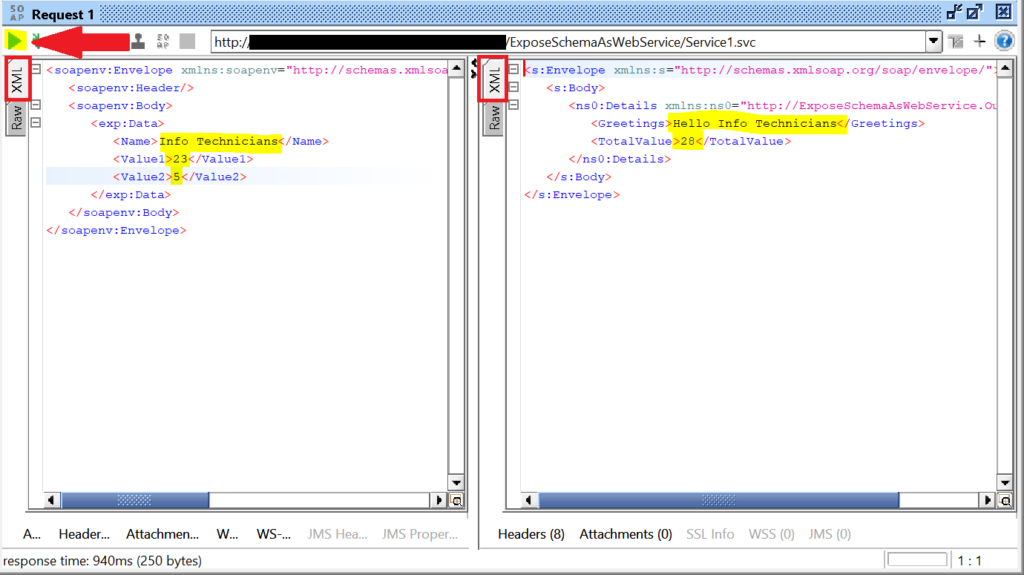
Double click the Request 1 and provide the values instead of ?

After entering the values click the Submit icon (like play symbol) then you will get the output right side.
If it is raw or cannot view properly select the XML and see as XML.
I hope this step by step guide will help you to expose the schema as WCF Service/Web Service
Please let me know your feedbacks/queries in the comments.
Thanks for reading our blog 🙂